<VirtualHost *:80> # The ServerName directive sets the request scheme, hostname and port that # the server uses to identify itself. This is used when creating # redirection URLs. In the context of virtual hosts, the ServerName # specifies what hostname must appear in the request's Host: header to # match this virtual host. For the default virtual host (this file) this # value is not decisive as it is used as a last resort host regardless. # However, you must set it for any further virtual host explicitly. #ServerName www.example.com
# Available loglevels: trace8, ..., trace1, debug, info, notice, warn, # error, crit, alert, emerg. # It is also possible to configure the loglevel for particular # modules, e.g. #LogLevel info ssl:warn
# For most configuration files from conf-available/, which are # enabled or disabled at a global level, it is possible to # include a line for only one particular virtual host. For example the # following line enables the CGI configuration for this host only # after it has been globally disabled with "a2disconf". #Include conf-available/serve-cgi-bin.conf
<Directory /var/www/bs> AllowOverride All </Directory> </VirtualHost>
On the plus side, they actually do have support now, but it’s new, and not remotely as well tested as tar/rsync/whatever’s. However, you have to start somewhere, and as of 0.25, we think it’s ready for more general use. Please let us know if you have any trouble.
Also, if any strip or graft-style options are specified to ‘bup save’, then no metadata will be written for the root directory. That’s obviously less than ideal.
bup is overly optimistic about mmap. Right now bup just assumes that it can mmap as large a block as it likes, and that mmap will never fail. Yeah, right… If nothing else, this has failed on 32-bit architectures (and 31-bit is even worse – looking at you, s390).
To fix this, we might just implement a FakeMmap[1] class that uses normal file IO and handles all of the mmap methods[2] that bup actually calls. Then we’d swap in one of those whenever mmap fails.
This would also require implementing some of the methods needed to support “[]“ array access, probably at a minimum getitem, setitem, and setslice [3].
It’s still rather fast: it can iterate through all the filenames on my 600,000 file filesystem in a few seconds. But it still needs to rewrite the entire index file just to add a single filename, which is pretty nasty; it should just leave the new files in a second “extra index” file or something.
bup could use inotify for really efficient incremental backups.
You could even have your system doing “continuous” backups: whenever a file changes, we immediately send an image of it to the server. We could give the continuous-backup process a really low CPU and I/O priority so you wouldn’t even know it was running.
bup only has experimental support for pruning old backups.
While you should now be able to drop old saves and branches with bup rm, and reclaim the space occupied by data that’s no longer needed by other backups with bup gc, these commands are experimental, and should be handled with great care. See the man pages for more information.
Unless you want to help test the new commands, one possible workaround is to just start a new BUP_DIR occasionally, i.e. bup-2013, bup-2014…
bup has never been tested on anything but Linux, FreeBSD, NetBSD, OS X, and Windows+Cygwin.
There’s nothing that makes it inherently non-portable, though, so that’s mostly a matter of someone putting in some effort. (For a “native” Windows port, the most annoying thing is the absence of ssh in a default Windows installation.)
bup needs better documentation.
According to an article about bup in Linux Weekly News (https://lwn.net/Articles/380983/), “it’s a bit short on examples and a user guide would be nice.” Documentation is the sort of thing that will never be great unless someone from outside contributes it (since the developers can never remember which parts are hard to understand).
bup is “relatively speedy” and has “pretty good” compression.
…according to the same LWN article. Clearly neither of those is good enough. We should have awe-inspiring speed and crazy-good compression. Must work on that. Writing more parts in C might help with the speed.
bup has no GUI.
Actually, that’s not stupid, but you might consider it a limitation. See the “Related Projects” list for some possible options.
More Documentation
bup has an extensive set of man pages. Try using ‘bup help’ to get started, or use ‘bup help SUBCOMMAND’ for any bup subcommand (like split, join, index, save, etc.) to get details on that command.
For further technical details, please see ./DESIGN.
How you can help
bup is a work in progress and there are many ways it can still be improved. If you’d like to contribute patches, ideas, or bug reports, please join the bup mailing list:
You can find the mailing list archives here:
1
http://groups.google.com/group/bup-list
and you can subscribe by sending a message to:
1
bup-list+subscribe@googlegroups.com
You can also reach us via the #bup IRC channel at ircs://irc.libera.chat:6697/bup on the libera.chat network or via this web interface.
Please see ./HACKING for additional information, i.e. how to submit patches (hint - no pull requests), how we handle branches, etc.

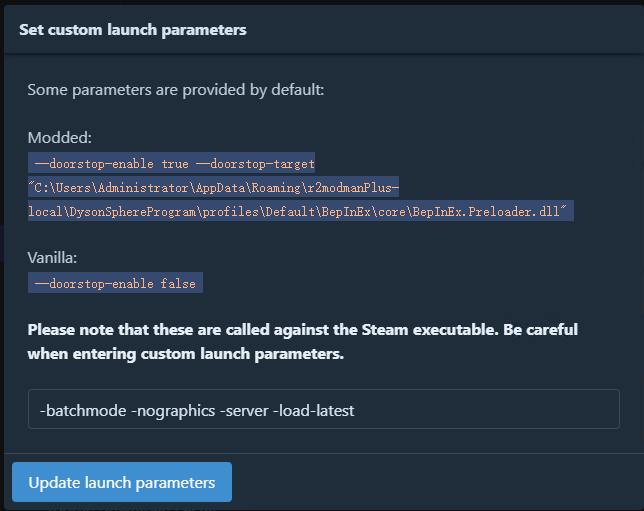


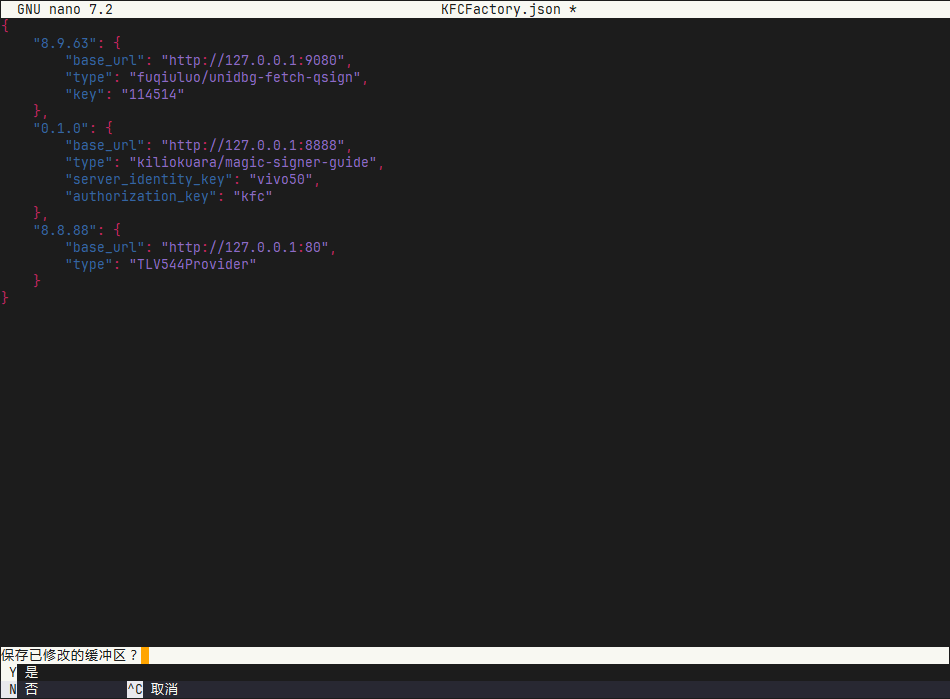
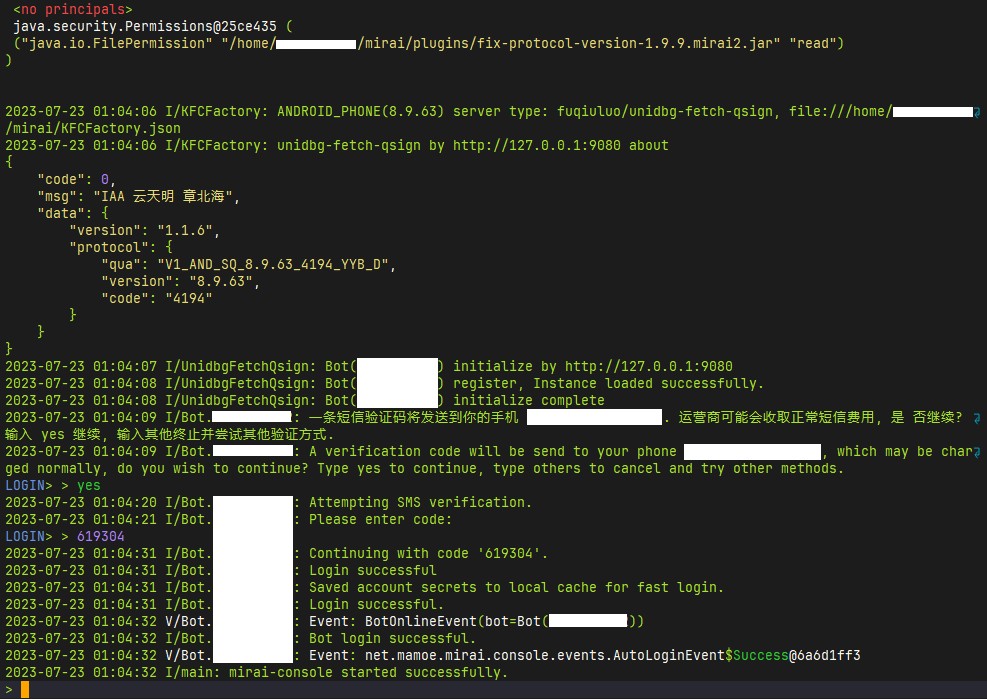


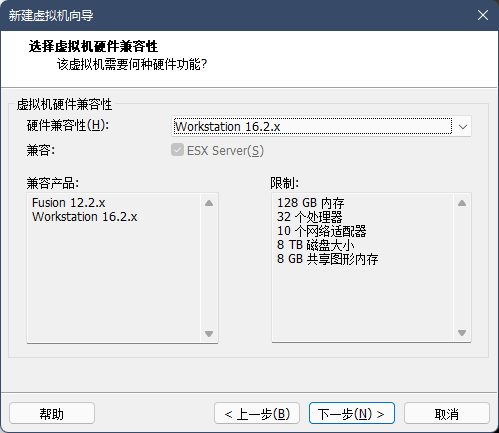
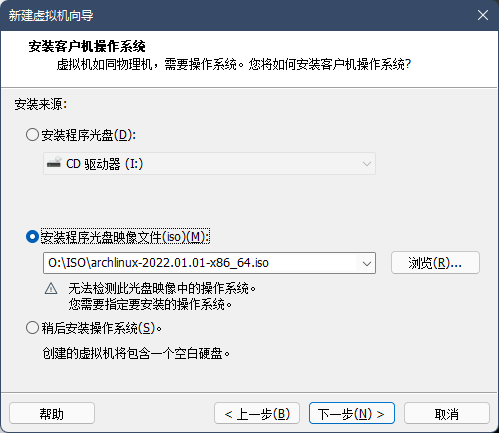
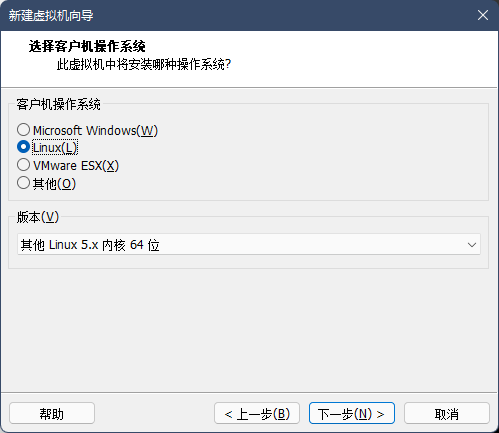
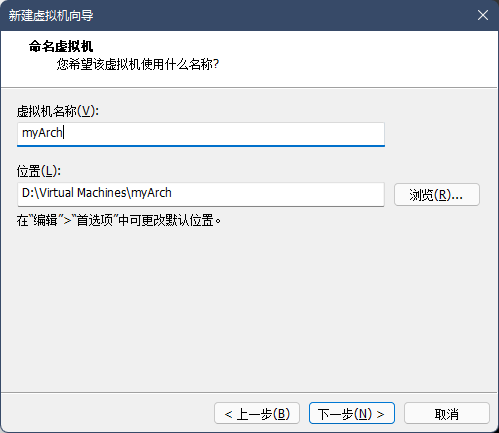
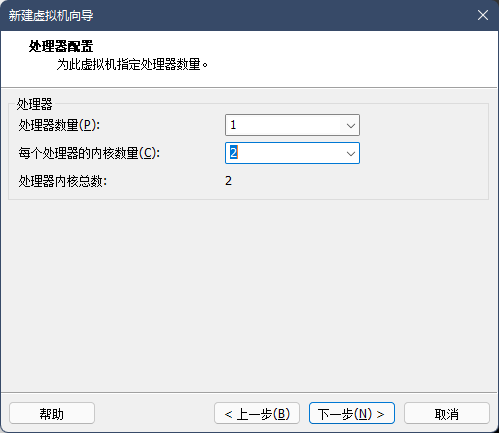
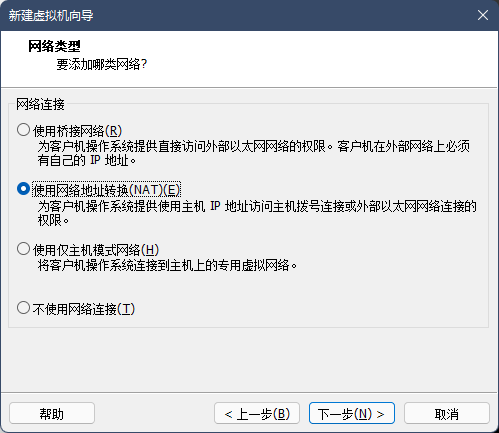
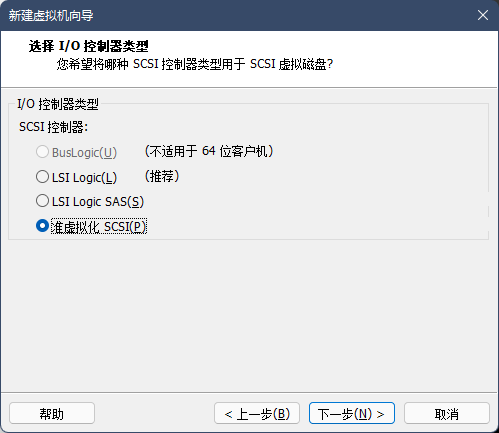
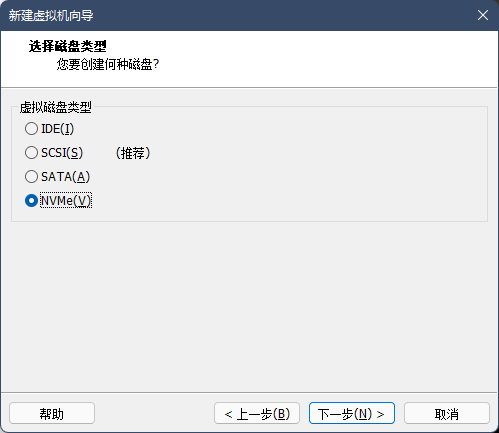
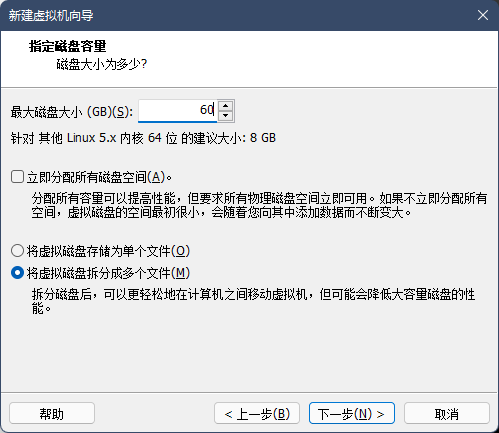
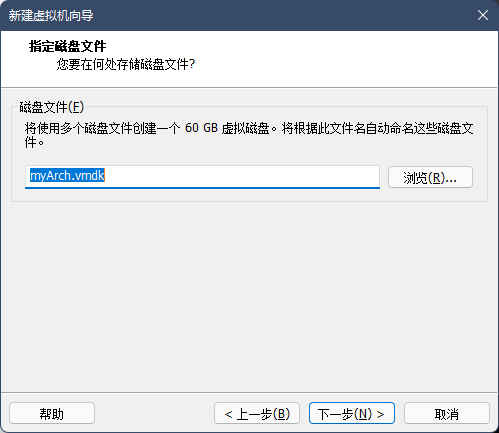
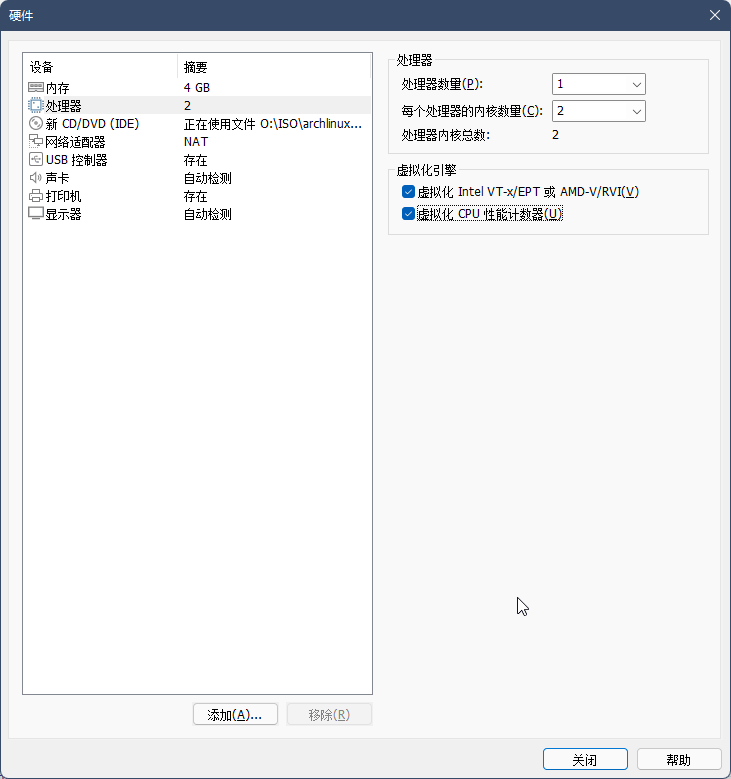
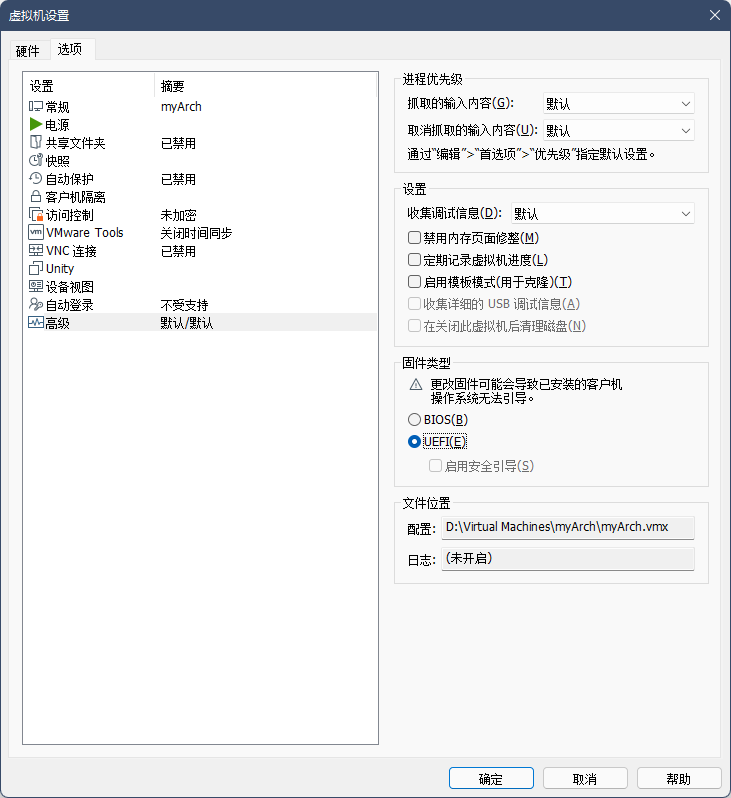
 按照提示填写就行:


 ]
]


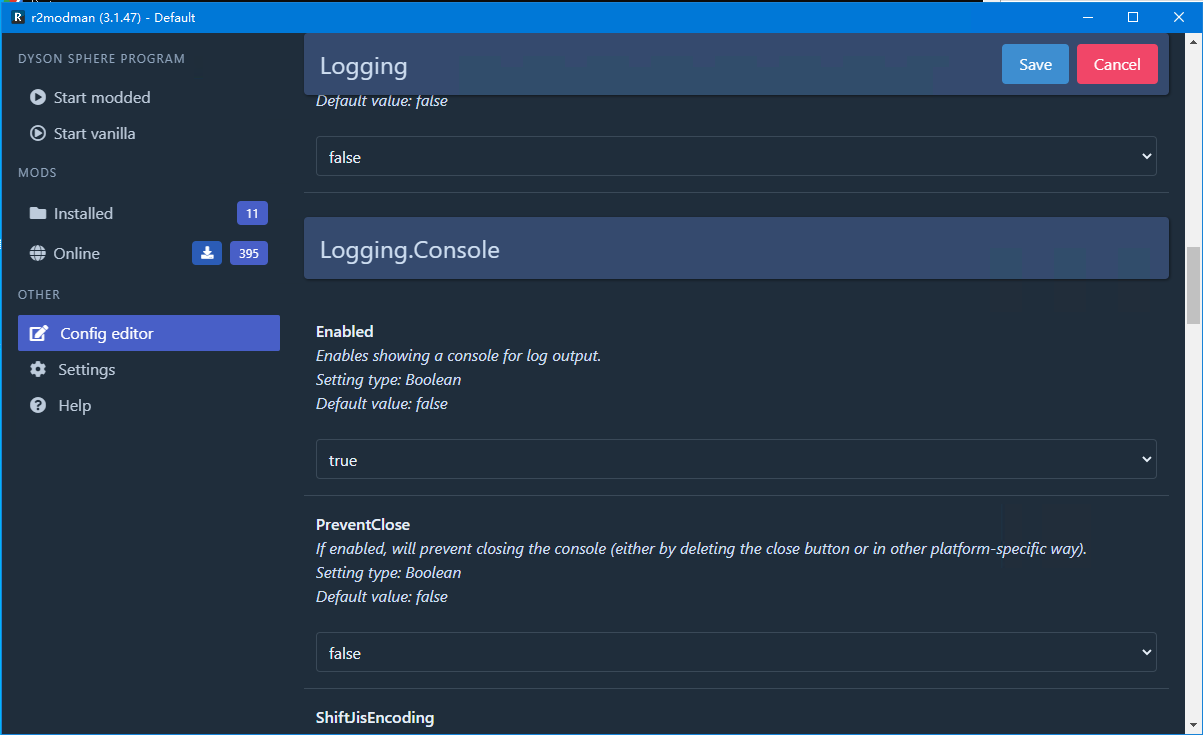
 这样,第一个Mod就安装好了,赶紧进入游戏试试看吧~